


In this article, you will learn about Oauth 2.0 and how to set up Nest and React to use Google Oauth as one of the login methods.
Prerequisites:
Basic Understanding of NestJs.
Basic understanding of ReactJs.
A Google account.
What is Oauth? Oauth which stands for open authorizations is a standard designed to access resources hosted by other web apps. More information on Oauth2, its scopes, roles and policies can be found in this great article by auth0.
1.0 Getting started.
Head over to your preferred folder and fork then clone this repository.
git clone https://github.com/manulangat1/nest-audit-trail.git
Create a new branch that you will be working in.
git branch -b "feat-google-login"
Navigate into the cloned project and install the dependencies as listed below.
yarn add  @nestjs/passport passport passport-google-oauth20 dotenv
yarn add -D @types/passport-google-oauth20
Test the server by running the command
yarn start:dev
You should be redirected to the default nest welcome screen with the Hello World message displayed.
2.0 Create the application in Google.
To be able to make use of the Google OAuth in Nest, you need to create an application on the Google developer console thus the need for a Gmail account.
Navigate to the Google developer console and create a new application per the images below.
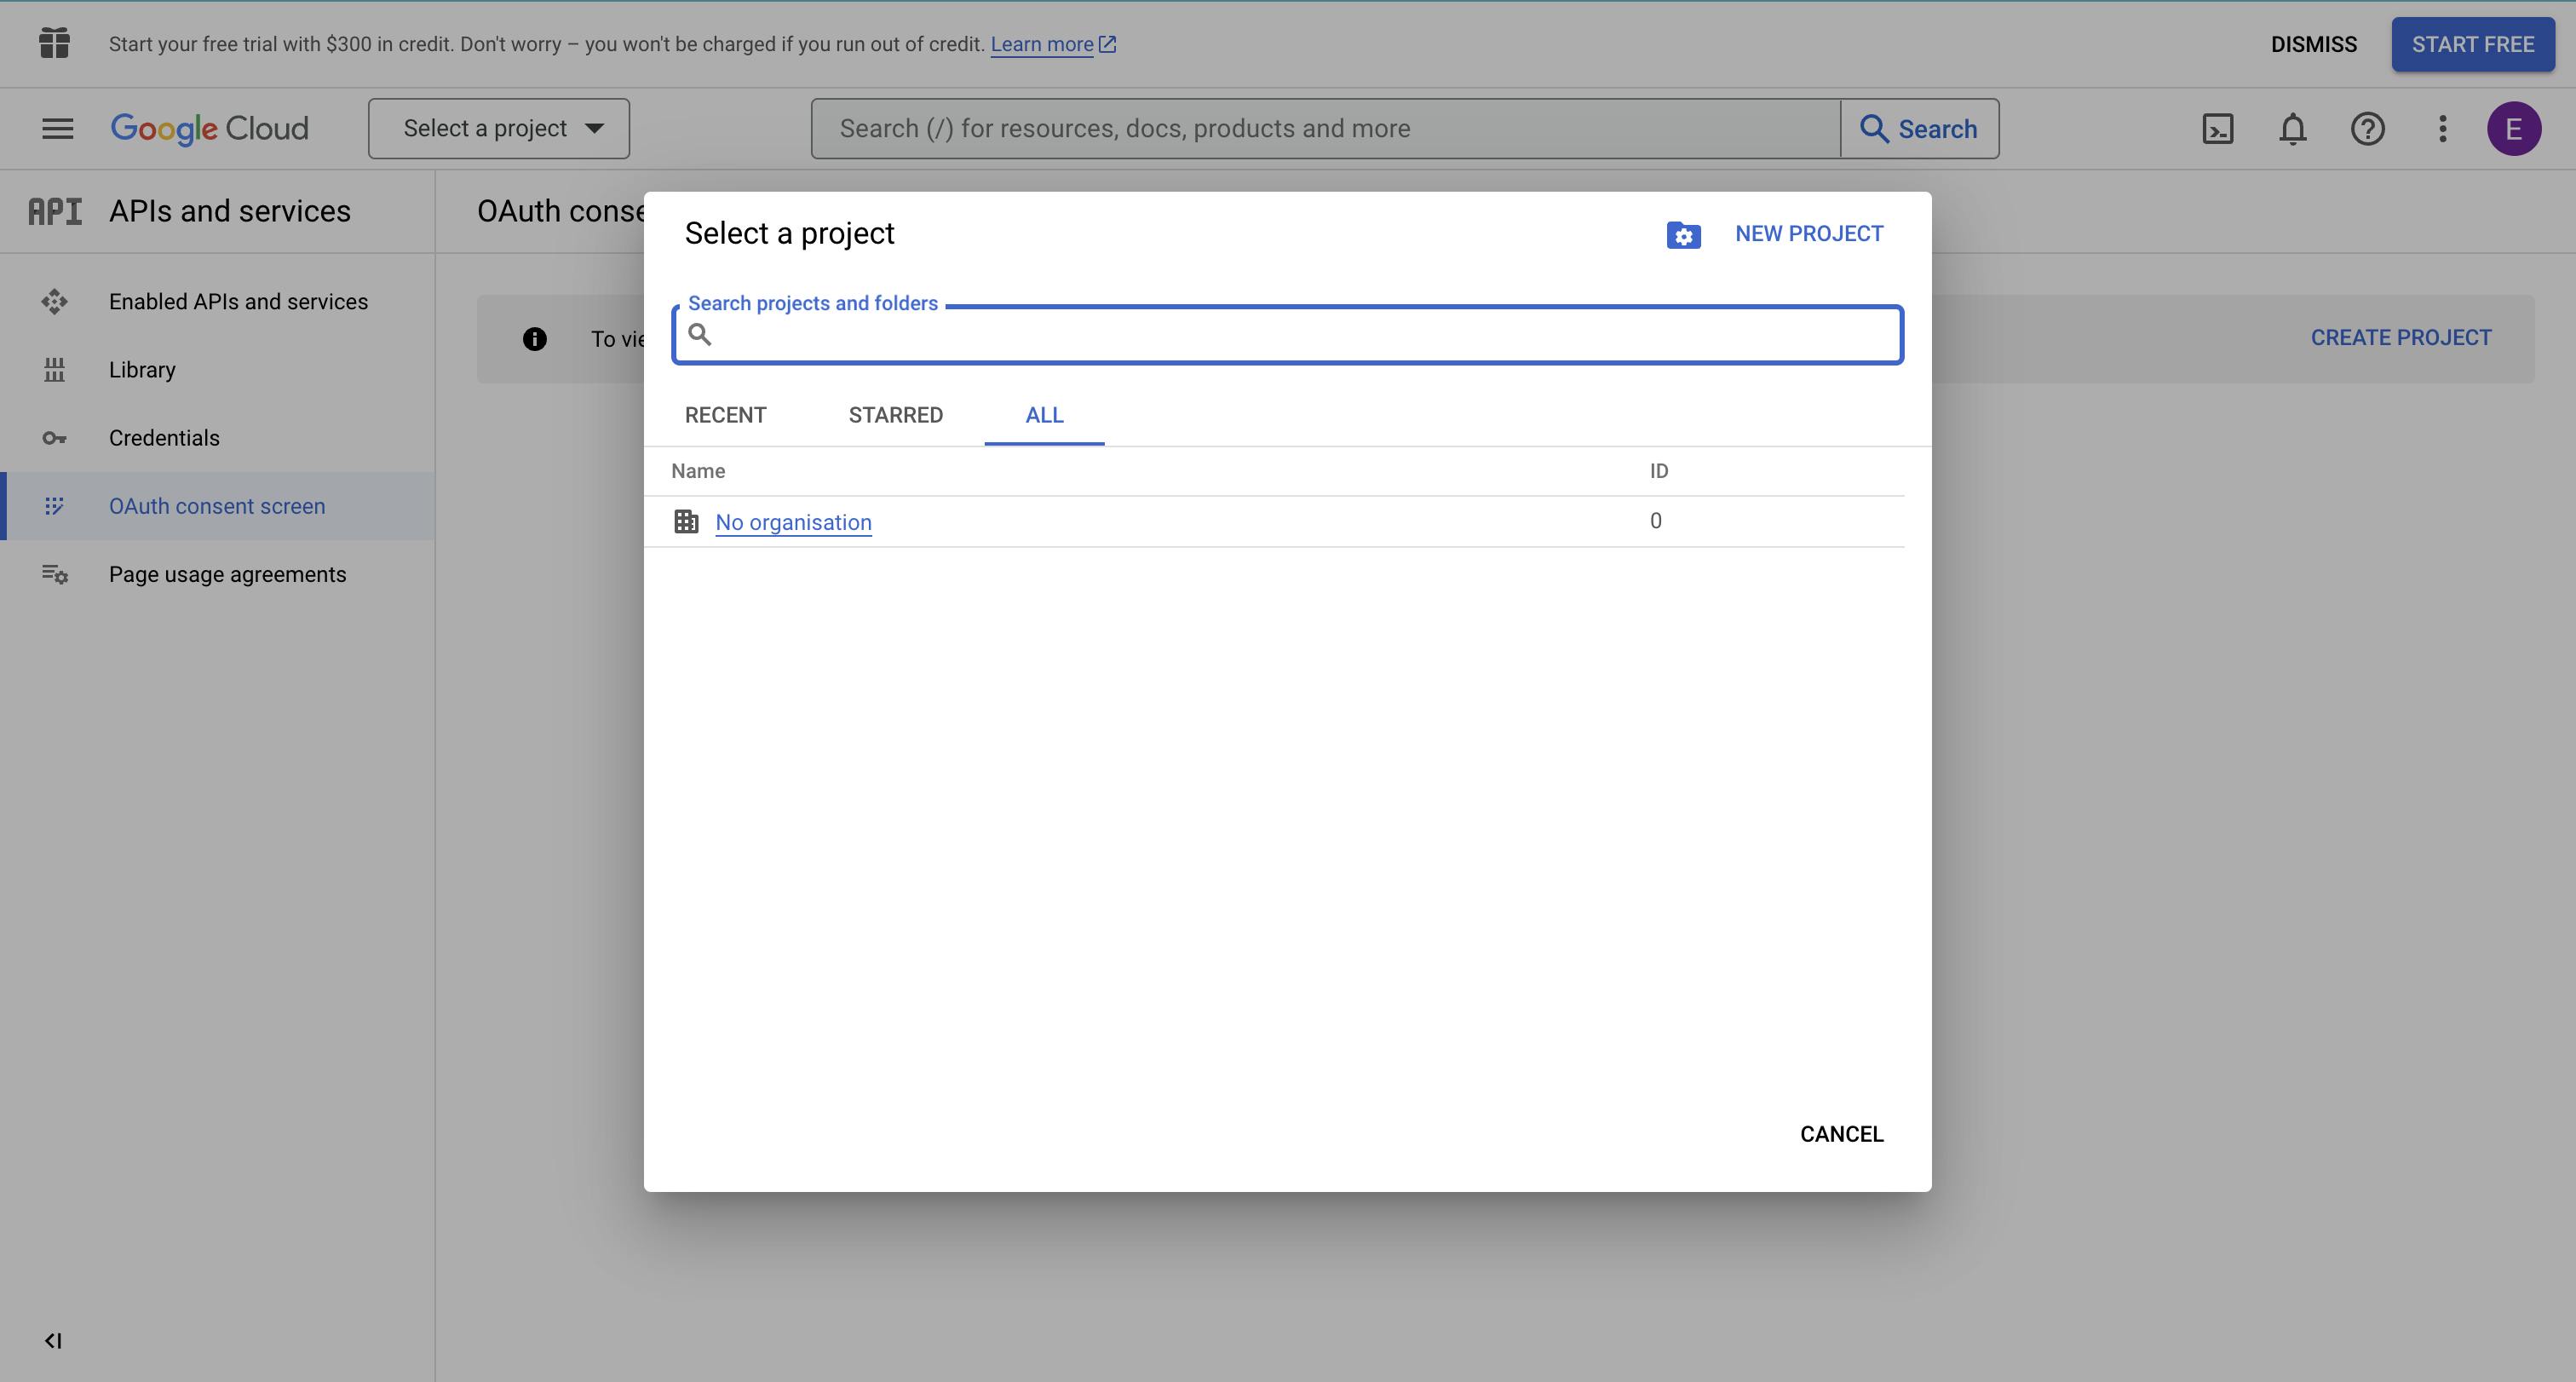
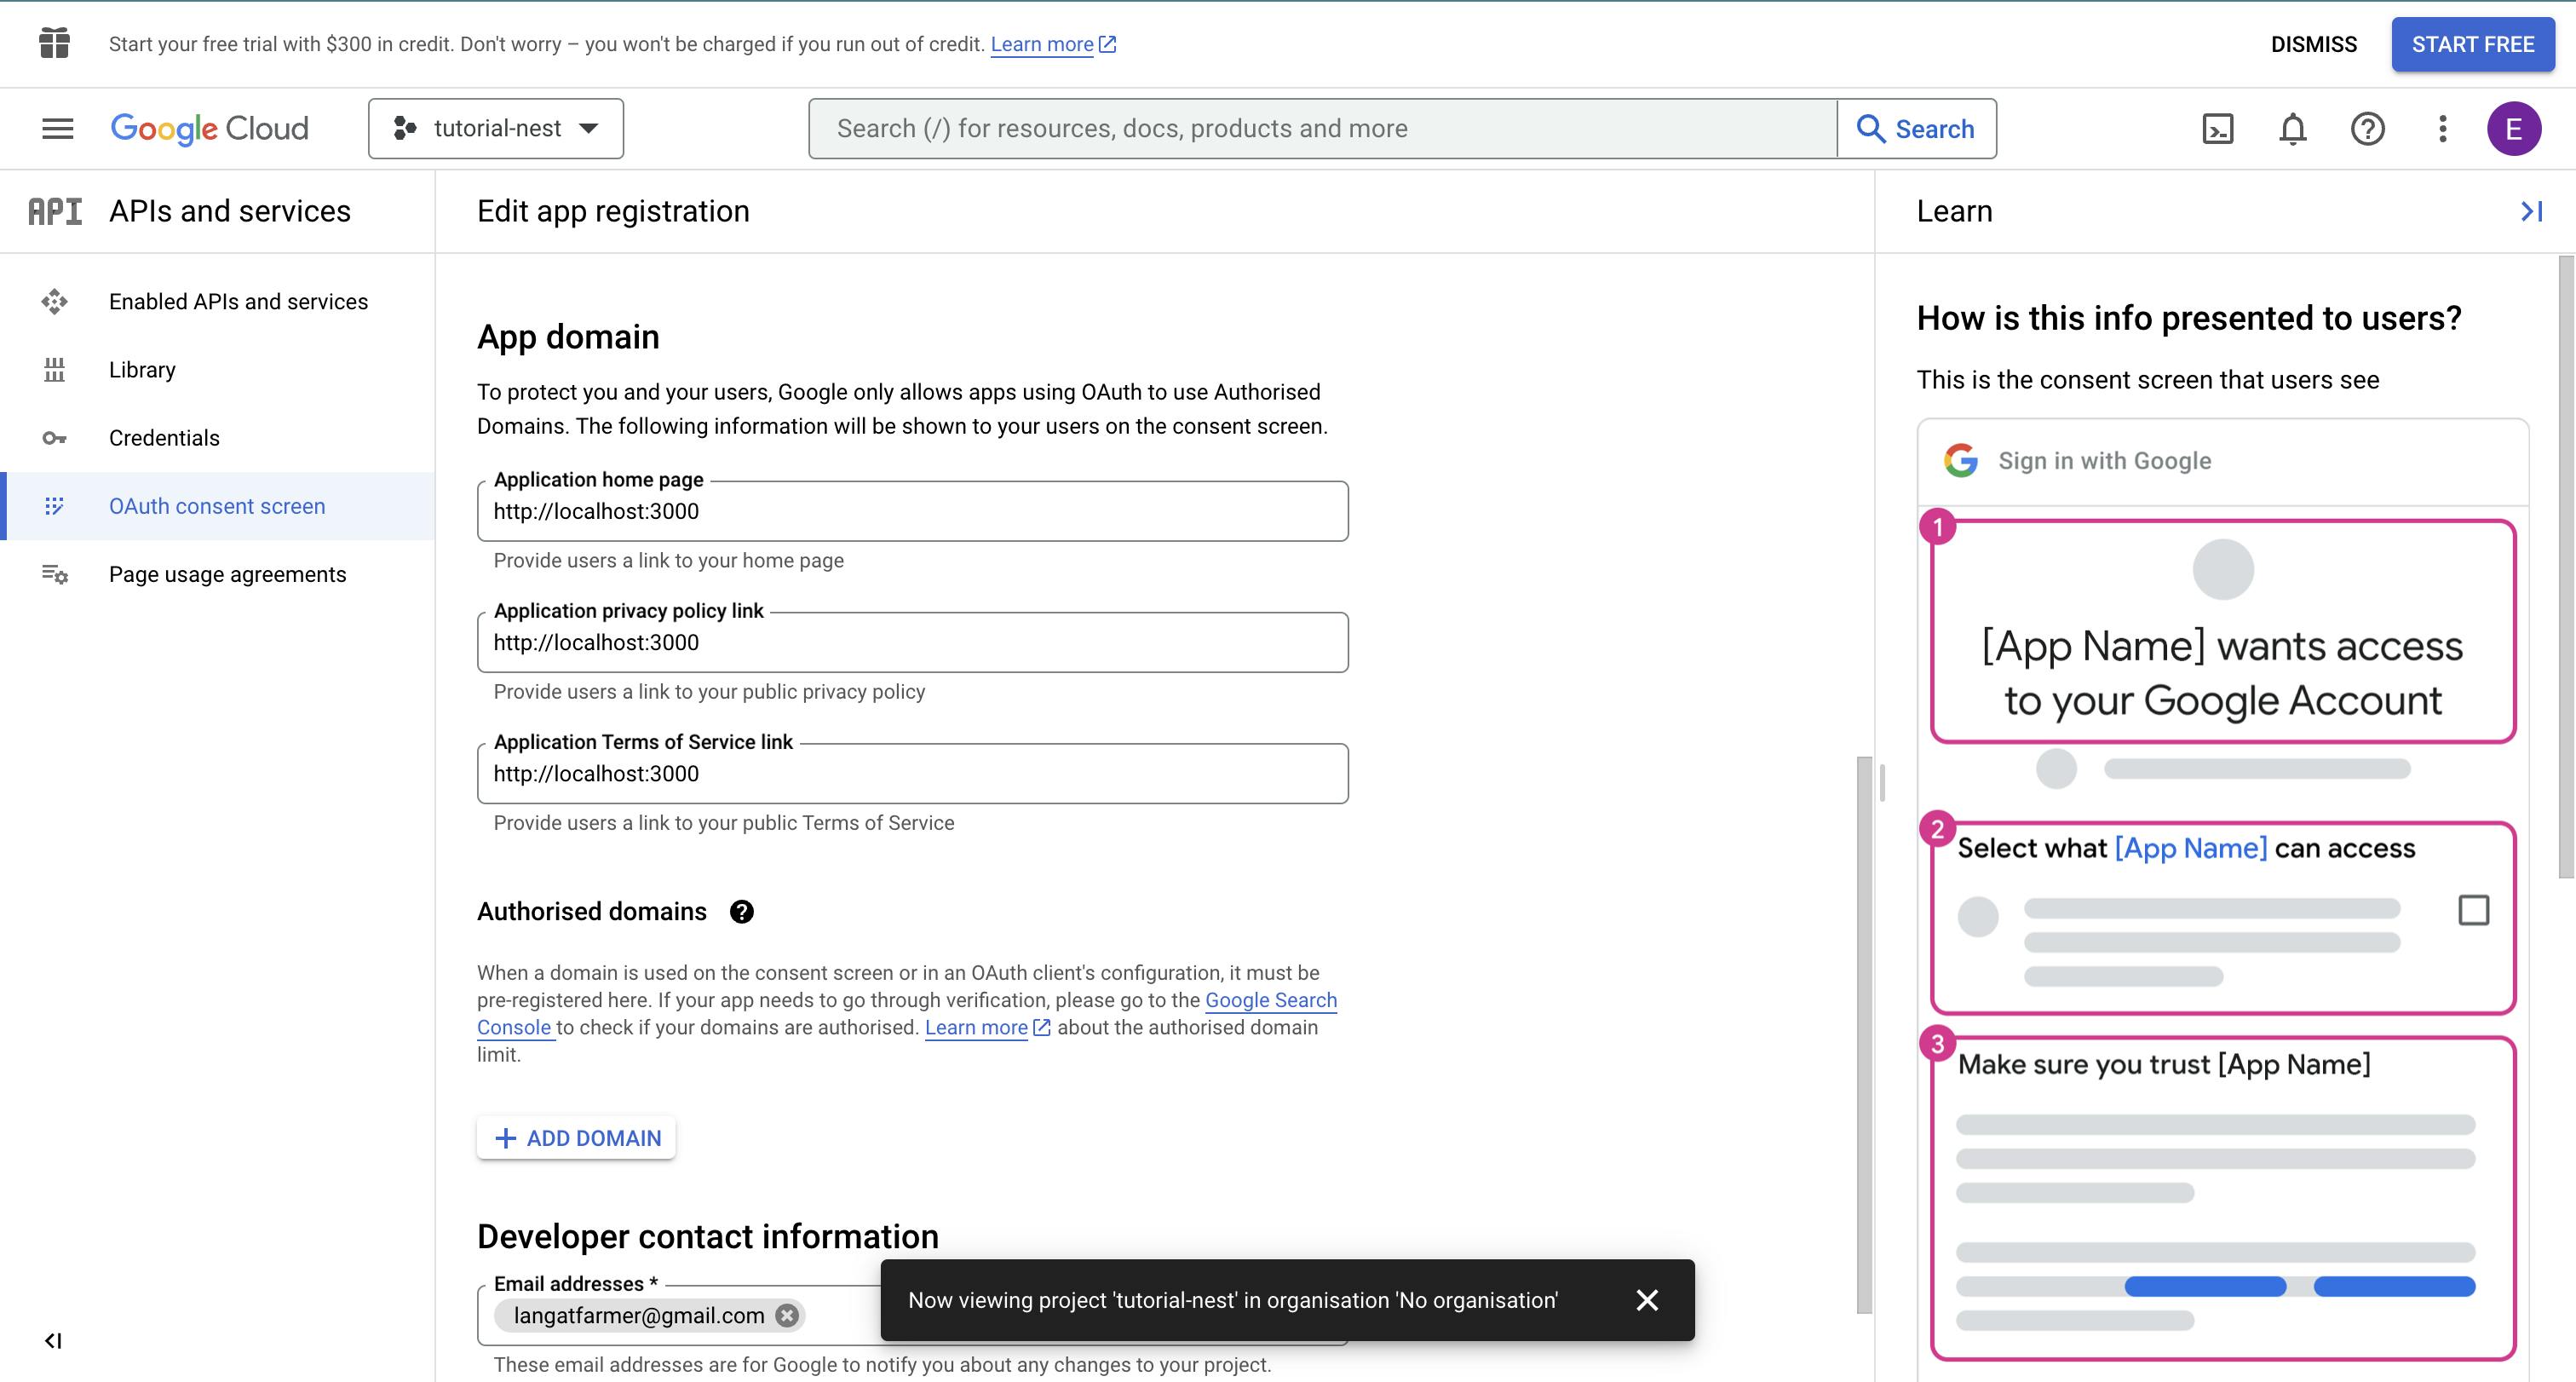
Select the new project and fill in the app name, and for the application details add in your local details and proceed to save the newly created app.
Get auth credentials.
With the new app in place, the next step is to create credentials which will authenticate the app with the Google API.
Click on the credentials tab and the Create new credentials button.
Select the credential types as Oauth client ID.
In the next screen, input your desired credential name and for the authorized javascript origin and the authorized redirect urls add in your applications uri.
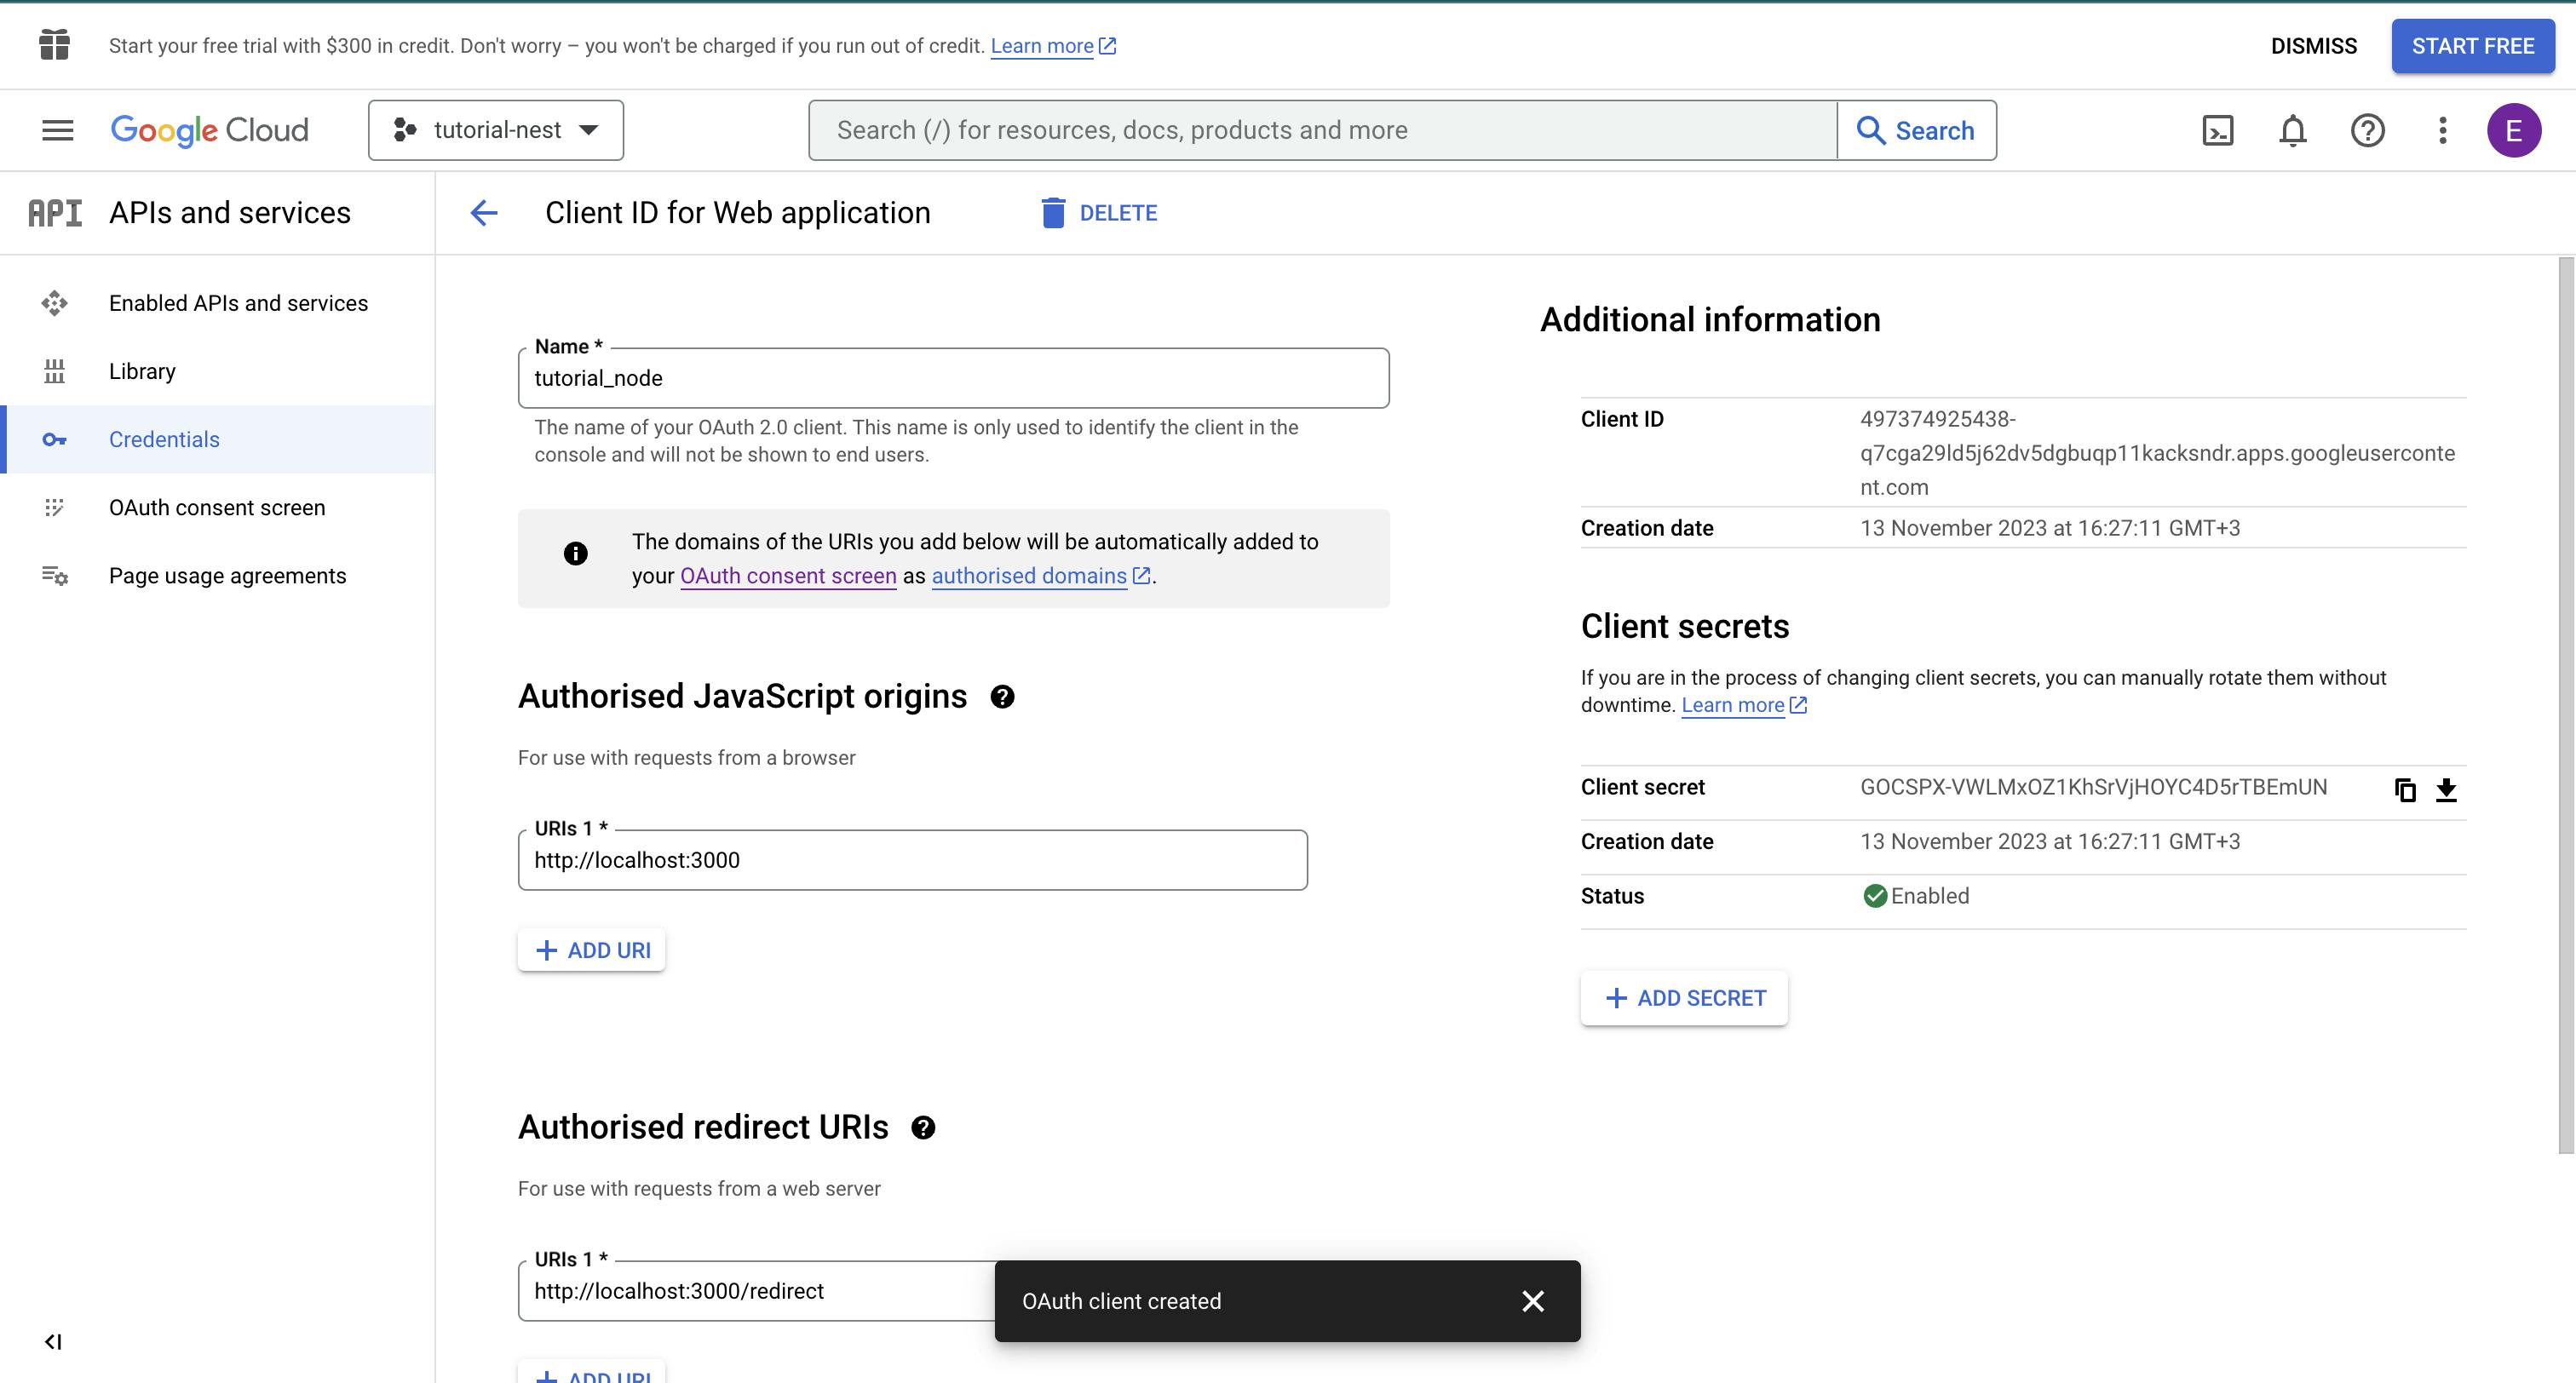
- With this in place, take note and/or download the keys generated as this will be required in the next step.
3.0 Implement the auth endpoints and functionality in Nest.
In your preferred code editor, open up the earlier created nest project and in the db/entities/user.entity.ts file add the following column, this will be used to differentiate whether a user registered via basic authentication (email and password) or Google OAuth.
  @Column({
    type: Boolean,
    default: false,
  })
  isGoogleUser: boolean;
With this in place, now create and run the migrations to ensure that the changes are reflected on the database.
yarn migration:generate attachGoogleUserColumn
yarn migration:run
Head to the auth.service.ts file, this is where the functionality that will be receiving the ticket/token from your react frontend and make the user registration will be housed.
Add in the following lines of code.
import { OAuth2Client } from 'google-auth-library';
import { config as dotenvConfig } from 'dotenv';
dotenvConfig({
  path: '.env',
});
const client = new OAuth2Client(
  process.env.GOOGLE_CLIENT_ID,
  process.env.GOOGLE_CLIENT_SECRET,
);
async googleRegistrationService(token: string) {
    const ticket = await client.verifyIdToken({
      idToken: token,
      audience: process.env.GOOGLE_CLIENT_ID,
    });
    const { email } = ticket.getPayload();
    const userExists = await this.userRepo.findOne({
      where: {
        email: email,
      },
    });
    if (userExists) {
      throw new BadRequestException('user already exists ');
    }
    const newUser = await this.userRepo.create({
      email: email,
      isGoogleUser: true,
    });
    this.logger.log(`User with email ${email} created successfully`);
    return this.userRepo.save(newUser);
  }
The above lines of code get the token which is passed from the react app frontend and checks whether the user exists locally and if not the user gets created and a successful response is returned to the frontend client.
With the service up, a controller which exposes the newly created functionality is needed and thus in the auth.controller.ts file add the following lines of code.
  @Post('google/registration')
  @ApiOperation({
    summary: 'This is the google registration endpoints',
  })
  @HttpCode(HttpStatus.CREATED)
  async googleRegistration(@Body() dto: any) {
    return this.authService.googleRegistrationService(dto.token);
  }
4.0 Configure react application
Install the following packages in your React application
yarn add @react-oauth/google@latest
And paste the following lines of code in a file named login.tsx
import React, { useState } from "react";
import { useFormik } from "formik";
import * as yup from "yup";
import { Button, TextField, Typography } from "@mui/material";
import axios from "axios";
import {
  GoogleOAuthProvider,
  GoogleLogin,
  //   googleLogout,
} from "@react-oauth/google";

// eslint-disable-next-line @typescript-eslint/no-explicit-any
const onSuccessResponse = async (response: any) => {
  const request = await axios.post(
    "http://localhost:3000/api/v1/auth/google/registration",
    {
      token: response.credential,
    },
    {
      headers: {
        "Content-Type": "application/json",
      },
    }
  );

  return request;
};

function Login() {
  const validationObject = yup.object({
    email: yup
      .string()
      .email("Enter a valid email")
      .required("Email is required"),
    password: yup
      .string()
      .min(8, "enter a minimum of 8 characters")
      .required("Password is required"),
  });
  const formik = useFormik({
    initialValues: {
      email: "",
      password: "",
    },
    validationSchema: validationObject,
    onSubmit: (values) => console.log(values),
  });
  return (
    <section
      style={{
        padding: "2rem",
        display: "flex",
        justifyContent: "center",
        alignContent: "center",
        alignItems: "center",
        flexDirection: "column",
      }}
    >
      <Typography
        variant="h3"
        style={{
          marginBottom: "2rem",
        }}
      >
        {" "}
        react google oauth application{" "}
      </Typography>
      <form onSubmit={formik.handleSubmit}>
        <TextField
          type="string"
          name="email"
          value={formik.values.email}
          onChange={formik.handleChange}
          onBlur={formik.handleBlur}
          error={formik.touched.email && Boolean(formik.errors.email)}
          helperText={formik.touched.email && formik.errors.email}
          style={{
            marginBottom: "2rem",
            padding: "1rem",
            borderRadius: "5px",
            width: "100%",
          }}
          placeholder="Enter your Email"
        >
          {" "}
        </TextField>
        <TextField
          type="password"
          name="password"
          value={formik.values.password}
          onChange={formik.handleChange}
          onBlur={formik.handleBlur}
          error={formik.touched.password && Boolean(formik.errors.password)}
          helperText={formik.touched.password && formik.errors.password}
          style={{
            marginBottom: "2rem",
            padding: "1rem",
            borderRadius: "5px",
            width: "100%",
          }}
          placeholder="Enter your password"
        >
          {" "}
        </TextField>
        <Button
          type="submit"
          variant="contained"
          style={{
            width: "50%",
            marginLeft: "auto",
            marginRight: "auto",
            margin: "0",
            padding: "1rem",
          }}
        >
          Submit
        </Button>
      </form>
      <section
        style={{
          marginTop: "2rem",
          padding: "1rem",
          textAlign: "center",
        }}
      >
        <Typography variant="h6"> OR </Typography>
        <GoogleOAuthProvider
          clientId={`${process.env.REACT_APP_GOOGLE_CLIENT_ID}`}
        >
          <GoogleLogin
            onSuccess={onSuccessResponse}
            onError={() => {
              console.log("Login With Google Failed");
            }}
          />
        </GoogleOAuthProvider>
      </section>
    </section>
  );
}

export default Login;
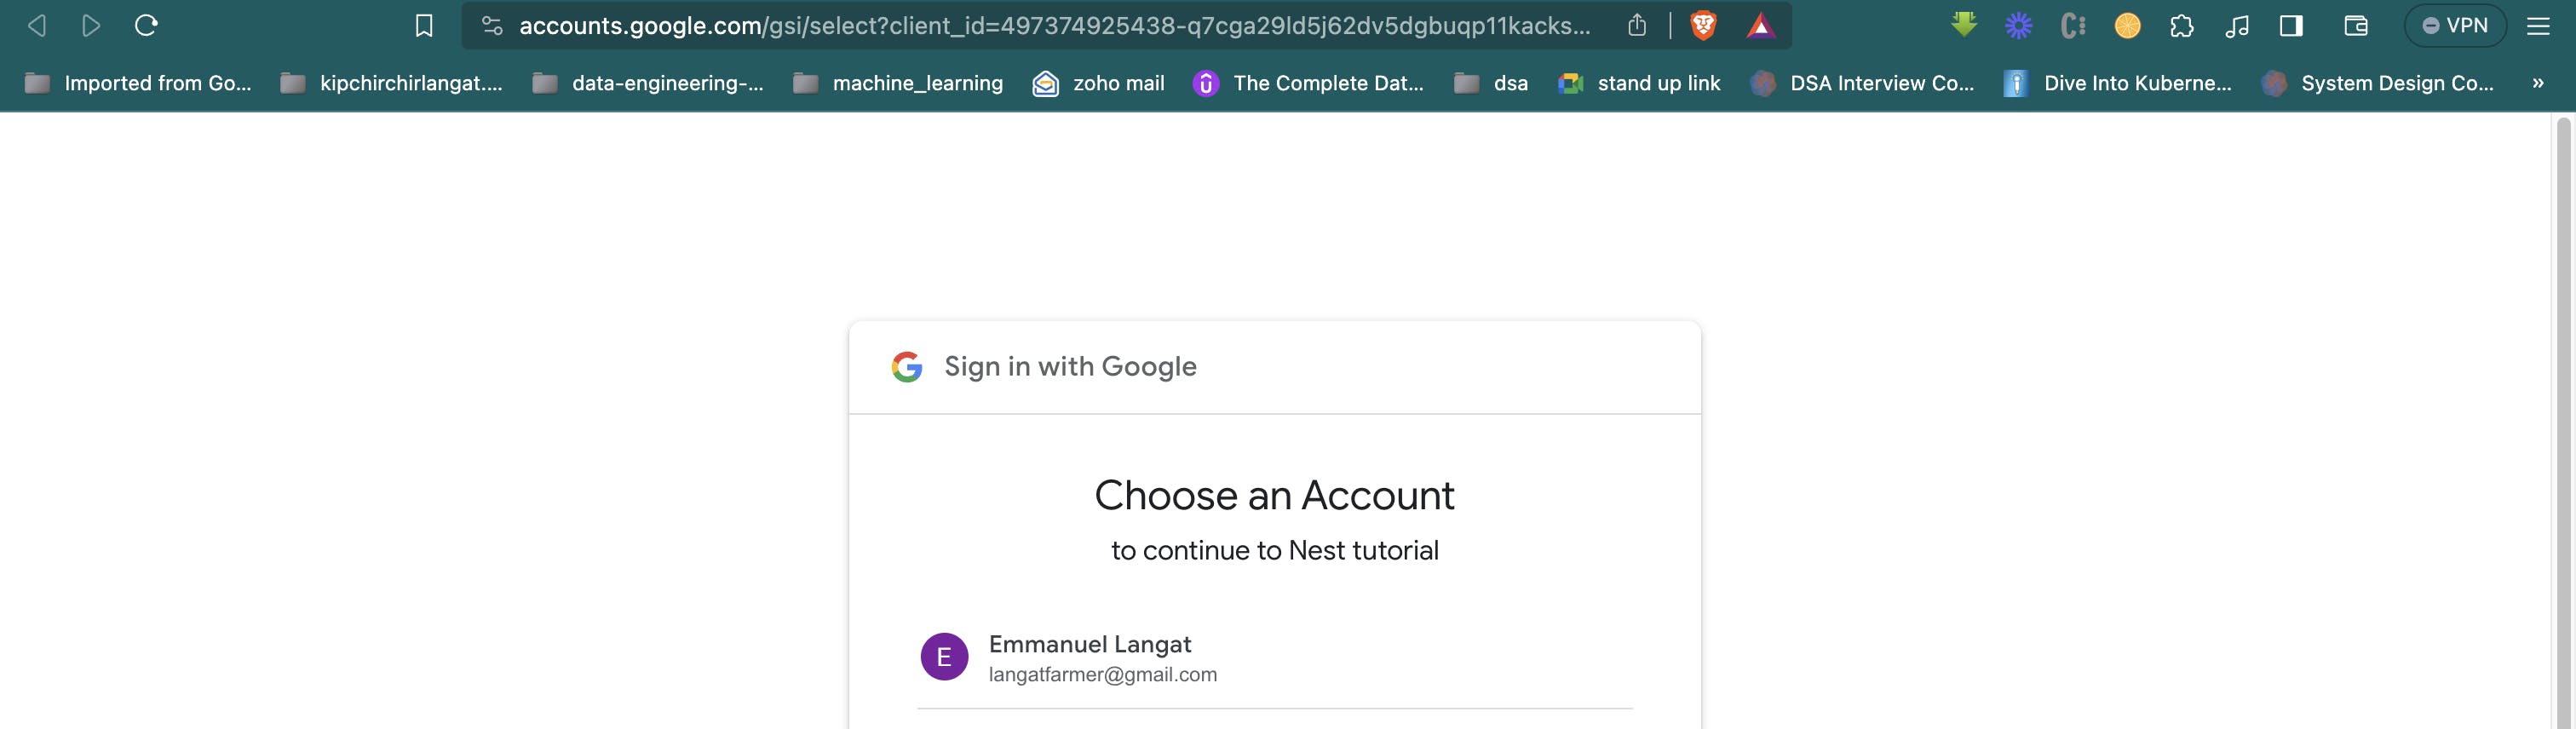
To test the application end to end, visit the react app frontend application and click on the login with Google button. You will be directed to an external page where you will select the Google account that you want to sign up and/or in with.
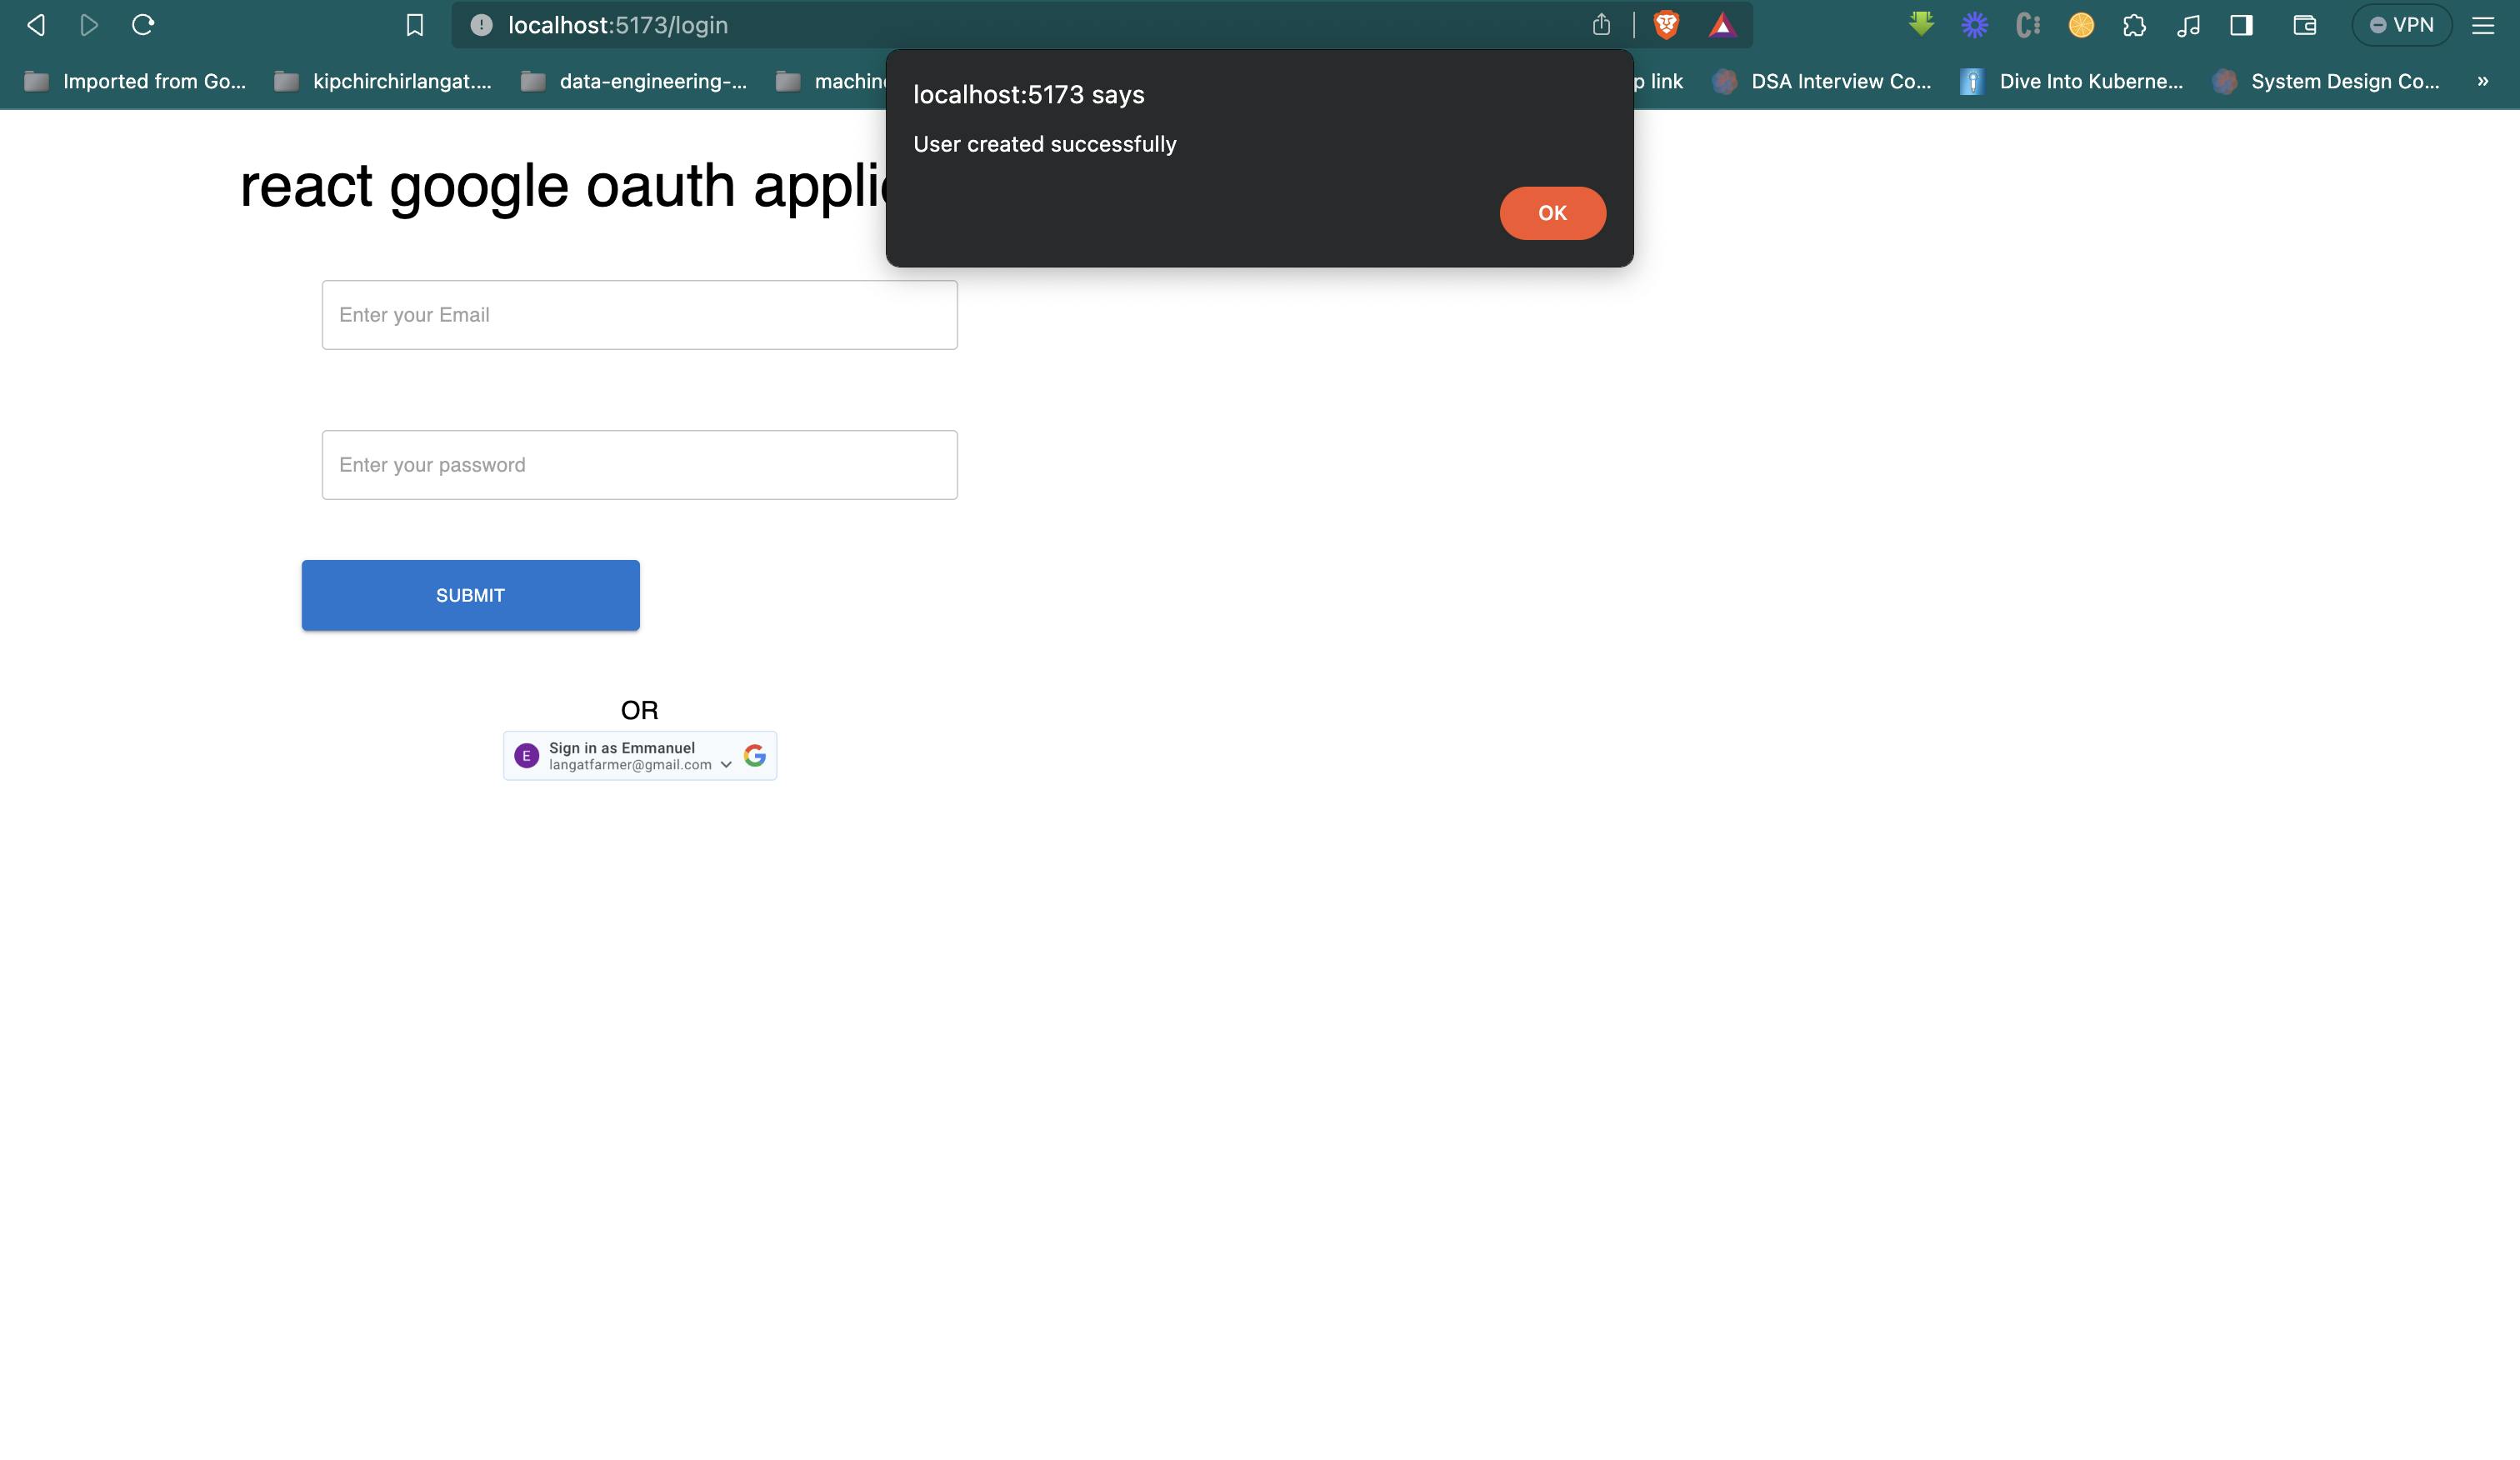
Upon selecting the account , you will be redirected back to the react app and if the request is successfully then an alert will be presented.
The full code for this article can be found in the backend repository and the frontend repository
In this article, you have learned how to implement Google OAuth in a React and Nest project. In the next article, you will stitch up the pieces and learn how to create a simple e-commerce application.