
Photo by Lukas Blazek on Unsplash
Set up Jenkins pipeline jobs to deploy a Django image to dockerhub
Set up Jenkins pipeline jobs to deploy a Django image to dockerhub
This is the second tutorial in the Deploy a Django app to AWS EC2 instance using a Jenkins server series.
In this article, we will go through how to give our Jenkins permission to run docker commands and set up a basic pipeline job that deploys our Django docker build to dockerhub.
1. Give access to the jenkins user to run docker commands.
ssh into our droplet by using the commands
ssh root@YOUR-IP
Get the jenkins container id using the commands.
docker ps
You should see an output similar to the one below.

Once we have the container id, we can now get into the container by using the commands.
docker exec -it CONTAINER_ID bash
run docker and you should be able to see a list of all docker commands.
Let's now try to run a Redis image by the commands
docker run redis
Wait, what happened? We should be hit with the following error

This error means that jenkins user does not have sufficient permissions to run certain commands.
Exit the session and get into the container as a root user by first running docker ps to get the container id, we will now get into the container as a root user by:
docker exec -u 0 -it CONTAINER_ID bash
We can now give our Jenkins user the permissions by:
chmod 666 /var/run/docker.sock
To verify that all went well, run ls -l var/run/docker.sock and you should expect an output like the one in the picture below.

To verify that all is well, get into the jenkins container as the jenkins user and run docker run redis. The error that we previously encountered should be non-existent and the command should run successfully.
2. Create a pipeline to deploy a Django docker image to dockerhub.
Head over to your jenkins page and create a new pipeline job
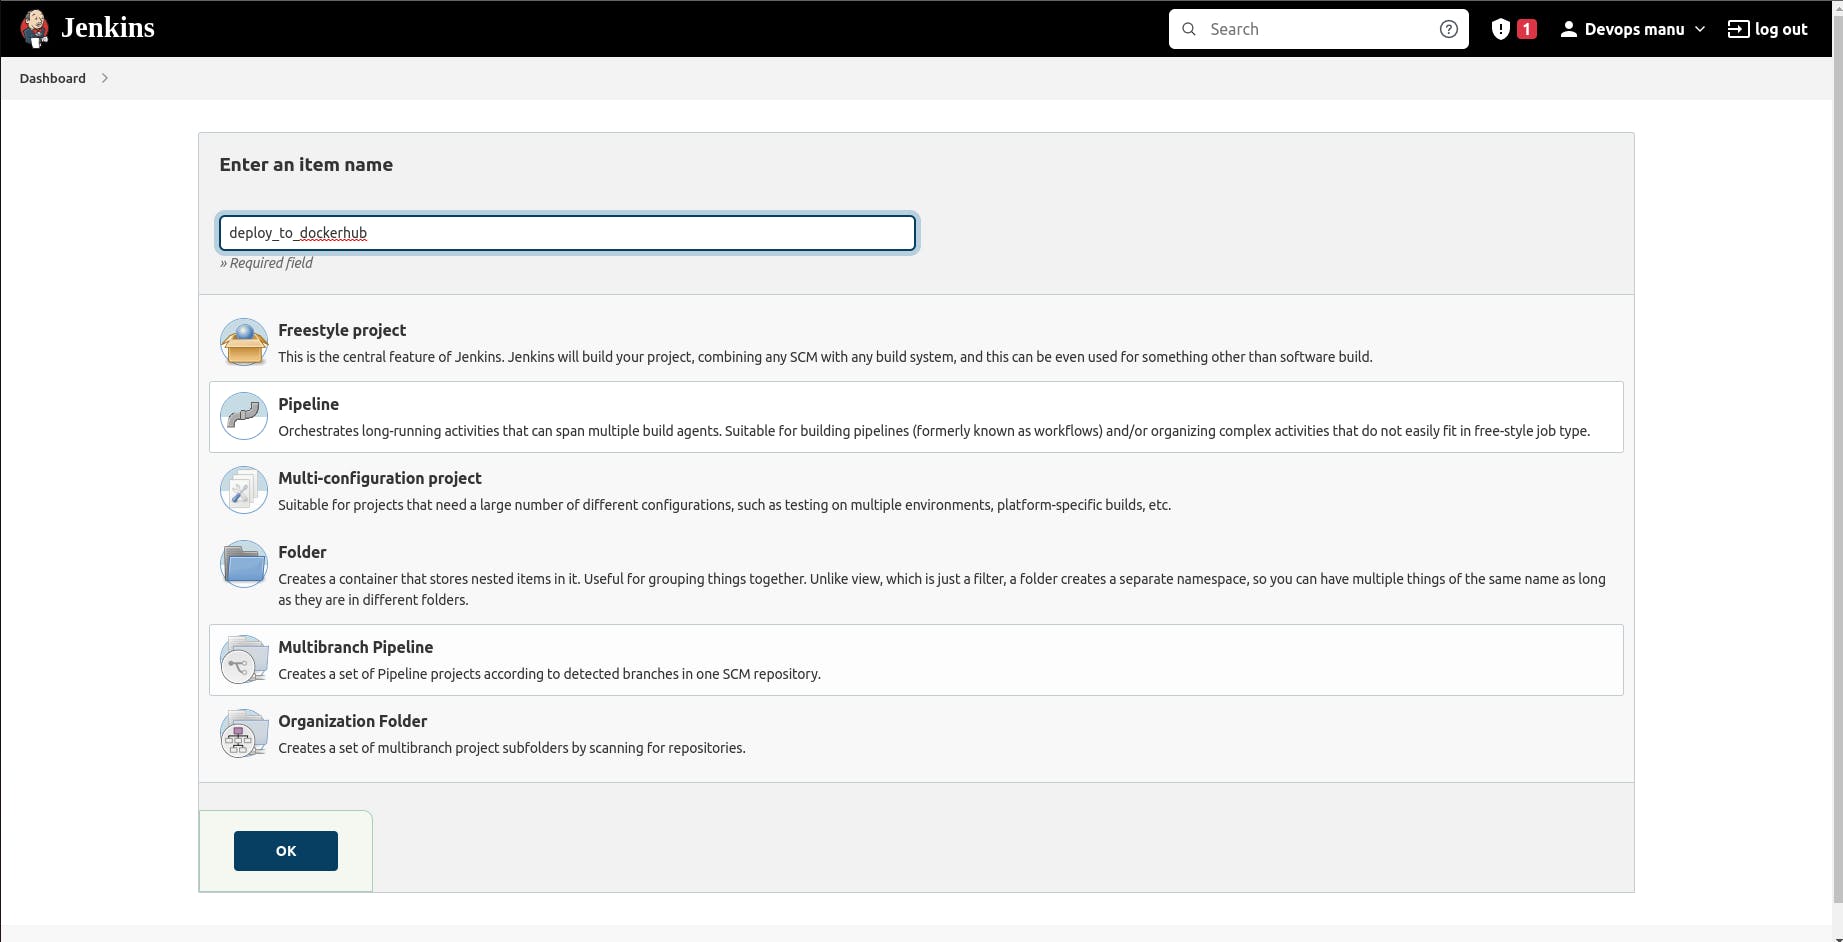
After successful creation, we need to connect it to our repository by clicking on the pipeline tab and scrolling down to the pipeline section.
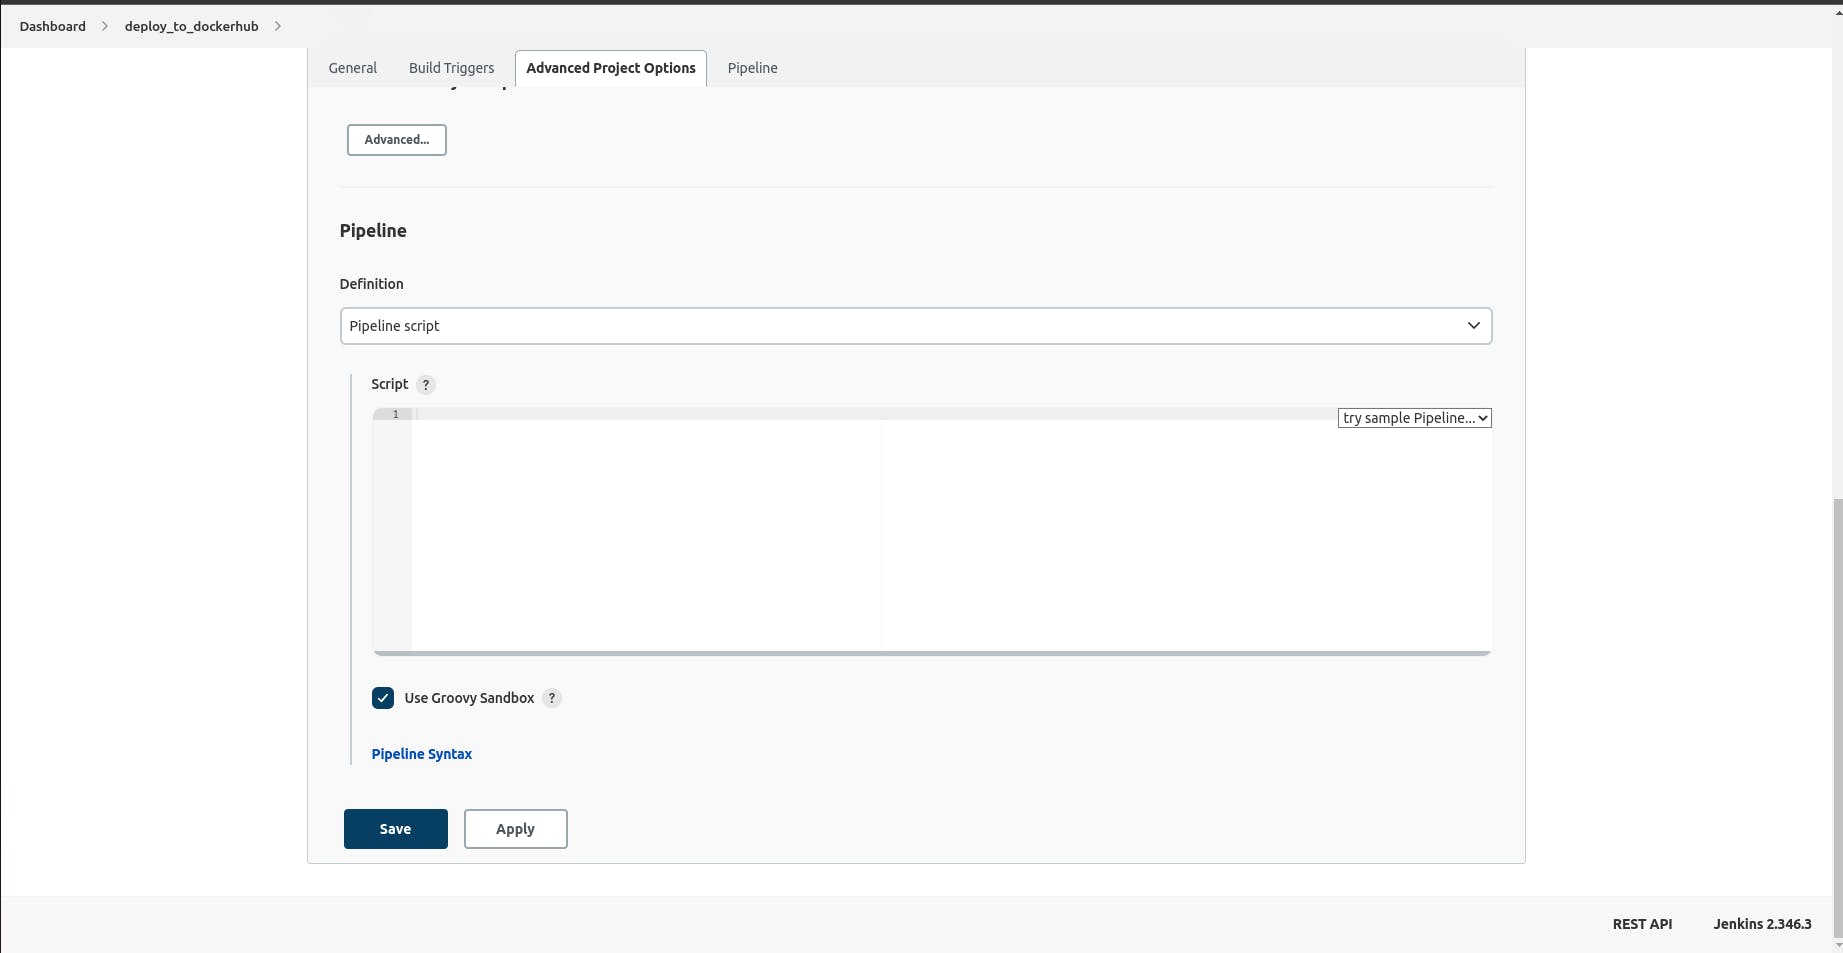
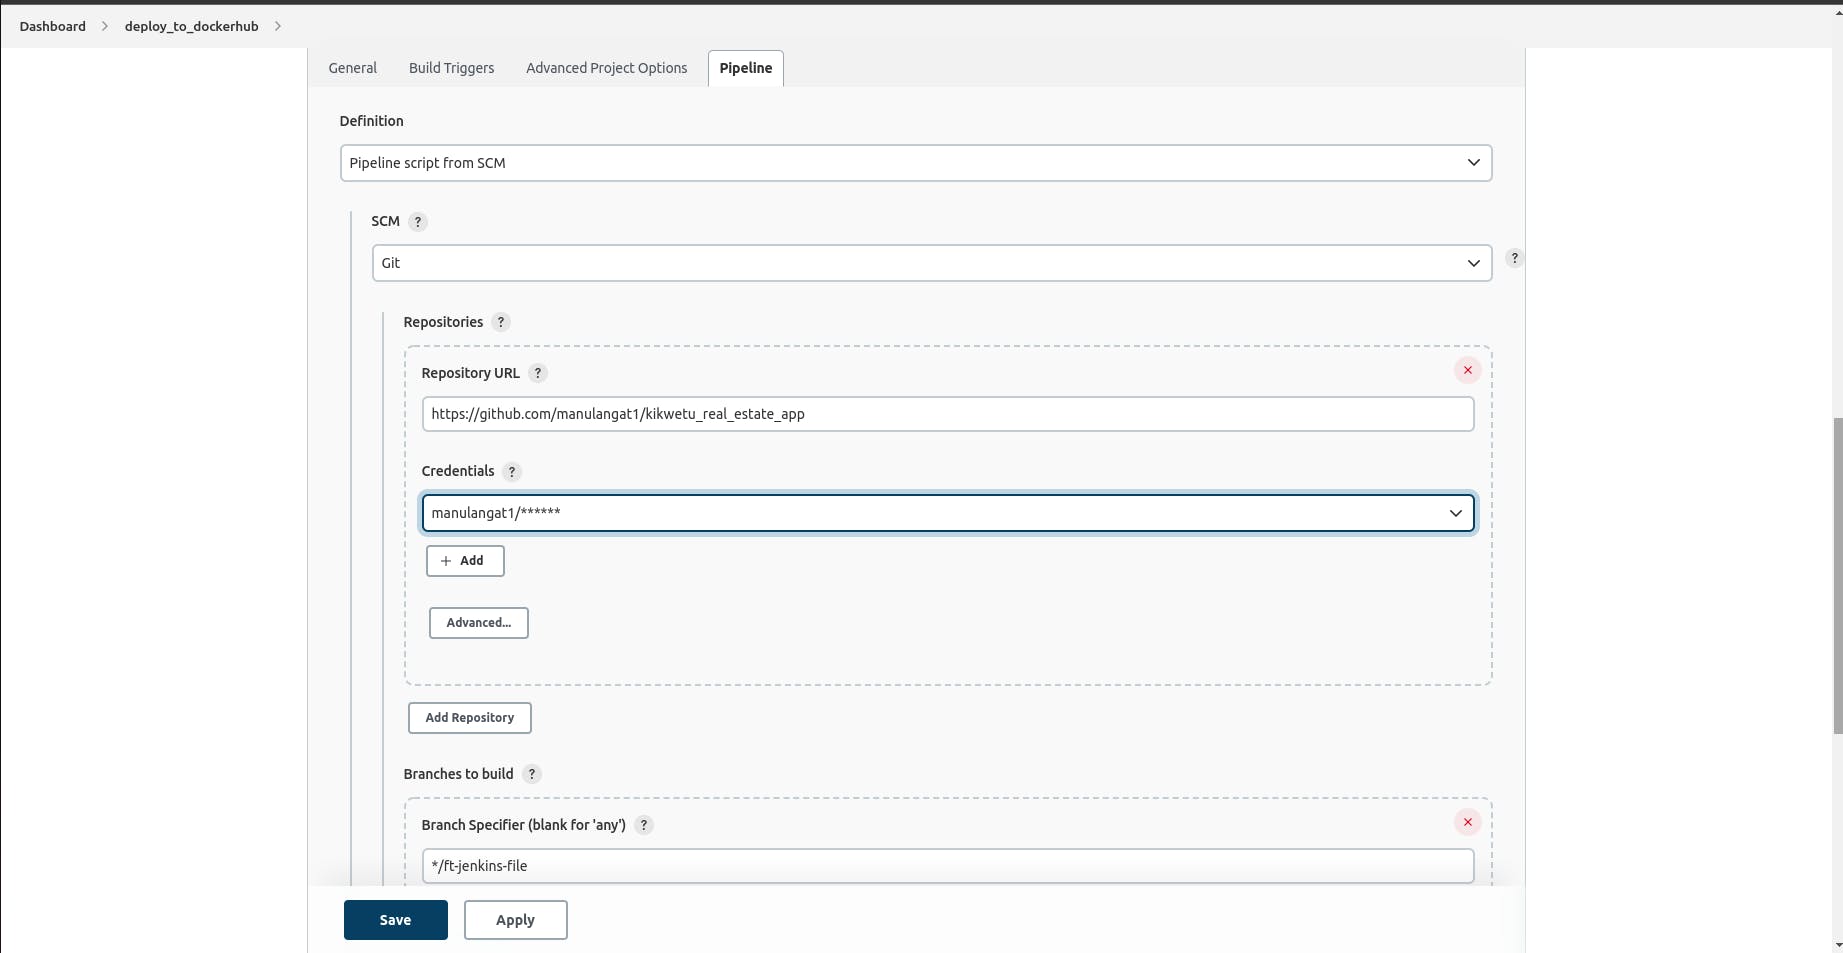
Select the pipeline script from SCM option on the dropdown and add in the repo URL.
Make sure to add your github/ gitlab credentials as a username with a password option and the branch in which your JenkinsFile exists.
In your Django project, make sure that the JenkinsFile exists, we can now proceed to add the Jenkins configurations.
pipeline {
    agent any
    stages {
        stage('Build') {
            steps {
                sh 'echo "Hello World"'
            }
        }
        stage('Done'){
            steps {
                echo " Wow! I'm done!"
            }
        }
        stage('Deploy staging ') {
            steps {
                echo 'I am deploying to a staging server
            }
        }

        stage ( 'Deploy prod') {
            steps {
                echo 'I am deploying to prod server

            }
        }
    }}
You can now push your code to your version control and head over to your Jenkins server web page, get into the job we created and click on the build now button to start a build.
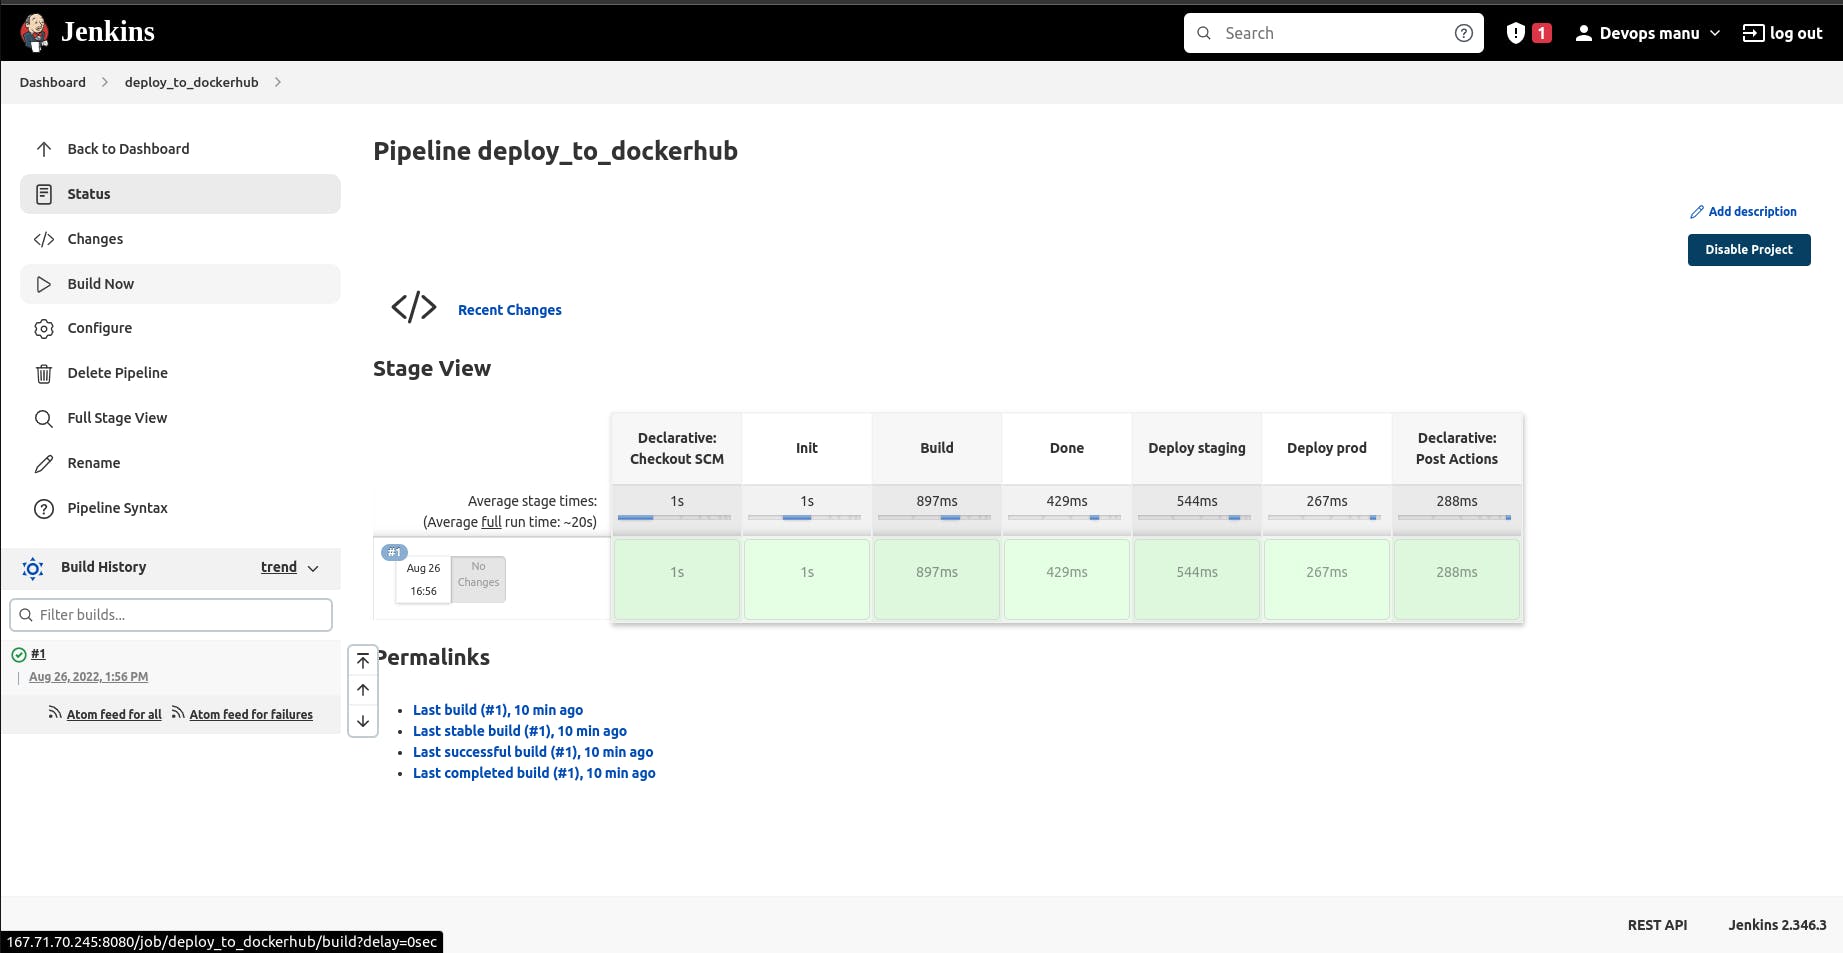
You should be able to see your build status with the build number, you can click on the build number and it will redirect you to the build.
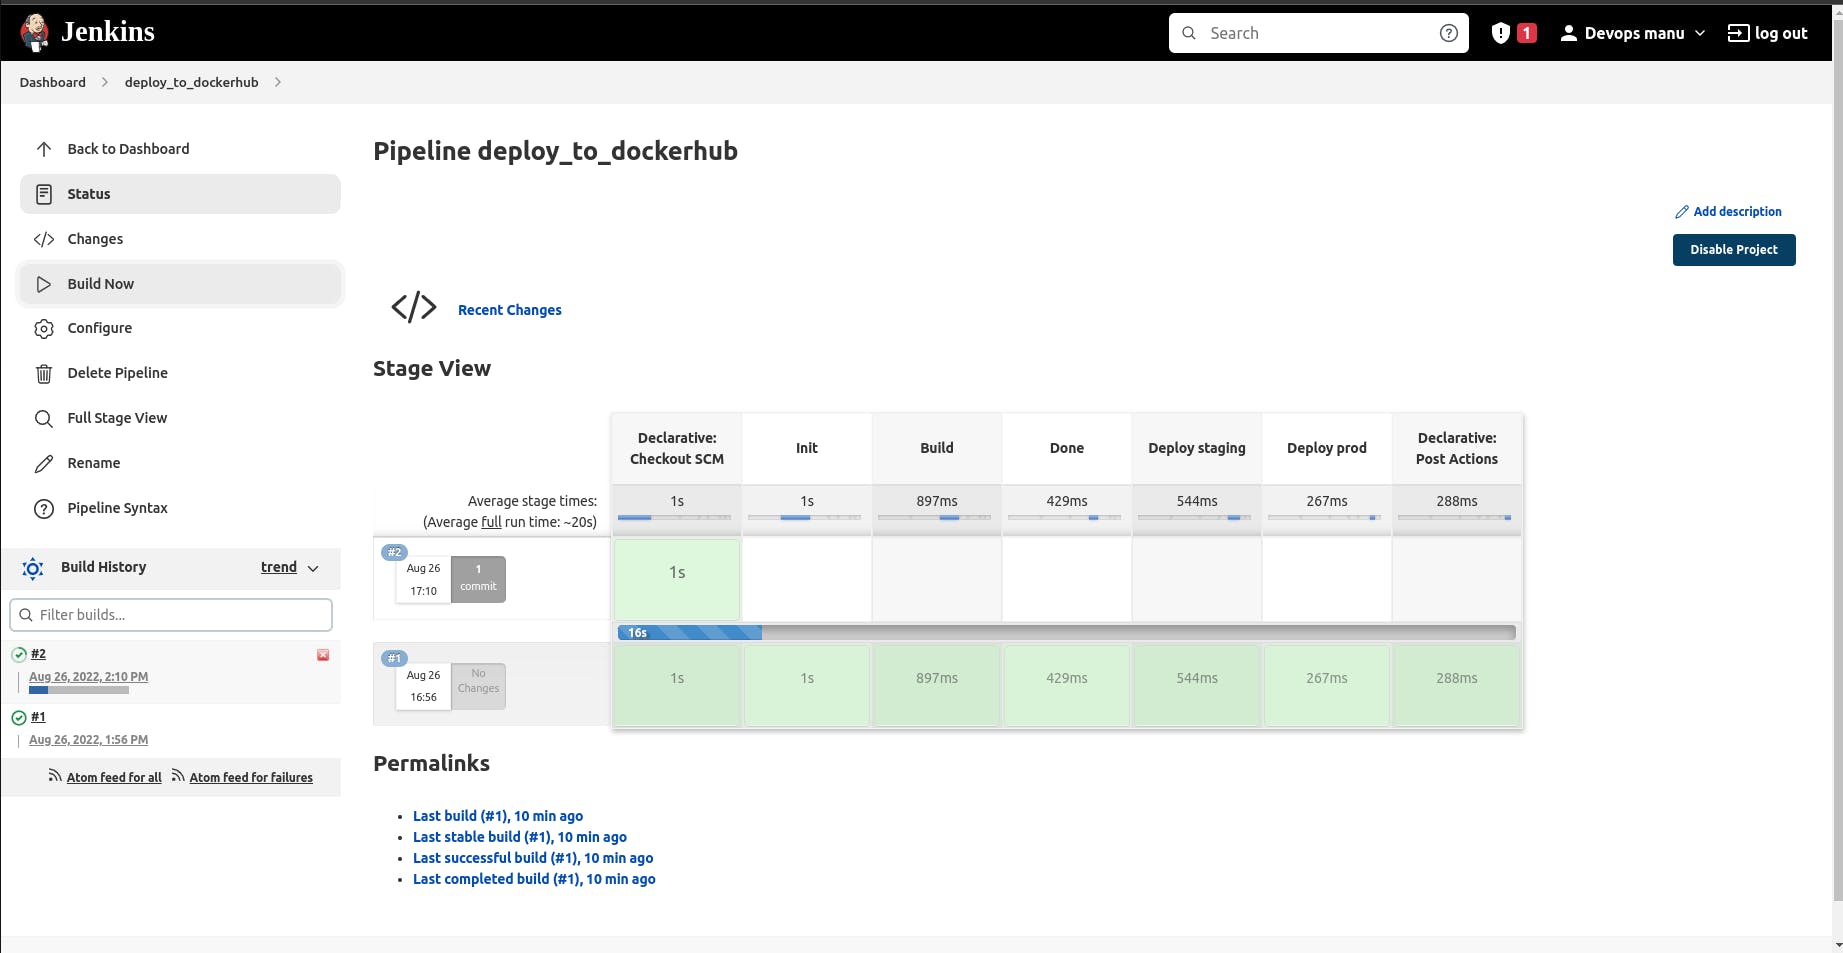
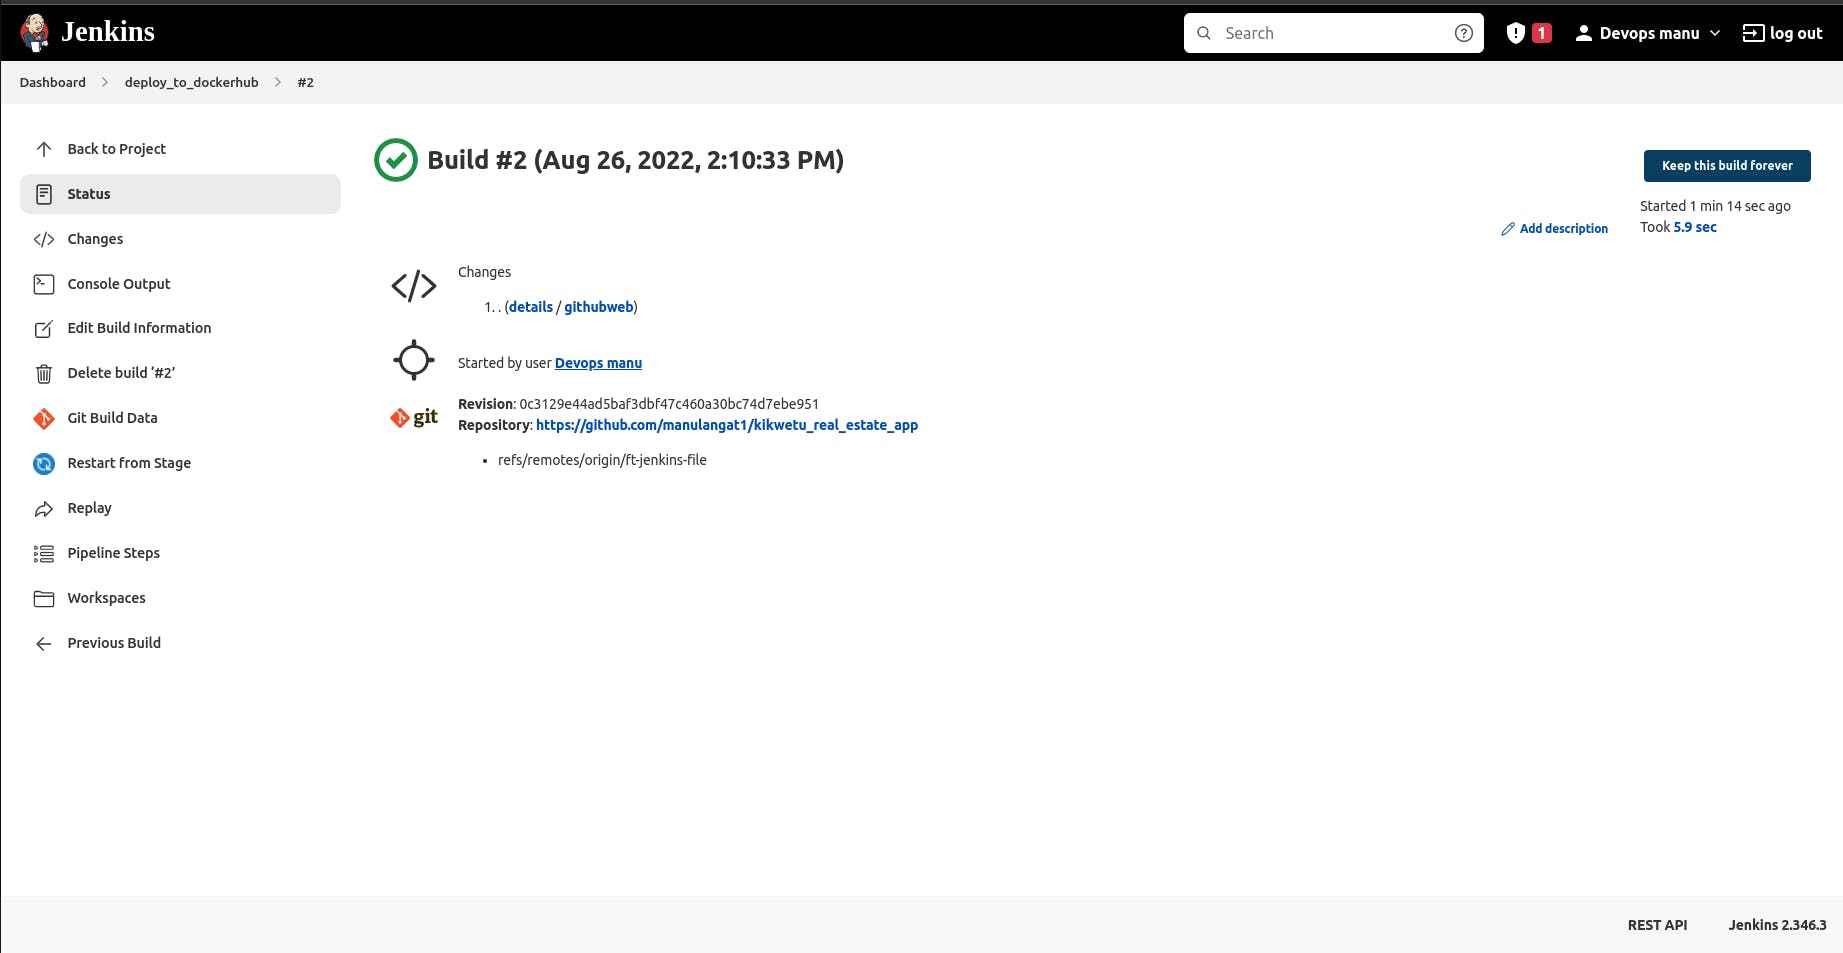
To check on the console output info, you can click on the console output.
We can go ahead and configure a stage that will build and deploy our Django image to dockerhub. Make sure that you have installed the credentials and the credentials binding plugins for this next step. Add your docker hub credentials with an id for you to be able to access it in your JenkinsFile.
pipeline {
    agent any
    stages {
        stage('Build docker image') {
            steps {
                sh 'echo "Hello World"'
                script{
                //
                withCredentials([
                    usernamePassword(credentials:'docker-hub-credentials', usernameVariable:USER, passwordVariable:PASSWORD)
                ]) {
                    sh "docker build . -t YOUR_IMAGE_NAME"
                    sh "echo $PASSORD | docker login -u $USER --password-stdin"
                    sh "docker push YOUR_IMAGE_NAME"
                }
                }
            }
        }
    }
}
We have introduced a new concept, the withCredentials tool that we will discuss comprehensively in the next article.
At this stage, you have now set up Jenkins on a digital ocean droplet and used it to deploy a Django image to Dockerhub. In the next article, we shall cover how to use groovy scripts, and environment variables and set up a GitHub trigger that will run our builds automatically.
Cheers.

